Debug Your Website in Chrome Browser in Andriod Devices
As a developer, debugging is a terrible nightmare and also the most crucial part of the development. Especially, when we had to debug in real-time devices. As a fellow developer, you might be knowing that we get more issues in actual devices than that of the emulator.
In this article, we will be learning how to debug our website or web application in Andriod devices using the Chrome browser. Let’s get started.
Install ADB
Andriod Debug Bridge (ADB) is a versatile command-line tool that lets you communicate with a device.
ADB stands for Andriod Debug Bridge
Download ADM from the below links, I strongly advise you to read terms and conditions before downloading.
Once it is downloaded, follow these instructions for different operating systems.
For Windows
Unzip the downloaded file in the C:\adb directory and open the same directory in command prompt.
| |
Run this command to start ADB
| |
And to terminate you can run below command
| |
For Mac & Linux
Unzip the downloaded file in any location and open the directory in your terminal.
| |
Run this command to start ADB
| |
And to terminate you can run below command
| |
Note: Tested in the latest OS version.
Update Settings in Your Chrome Browser
Step 1: Open developer tools, Ctrl + Shift + I is a windows shortcut.
Step 2: Click on ⋮ the icon on the top-right corner of the developer tools window and then navigate to More tools -> Remote Devices.
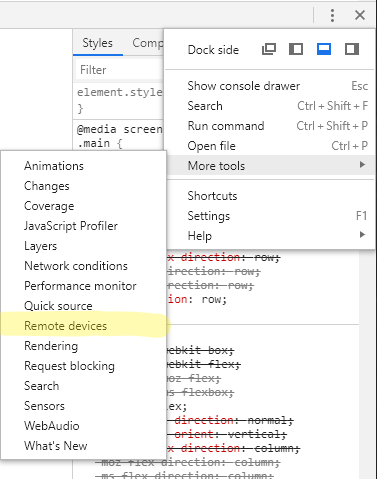
⋮ -> More tools -> Remote devices
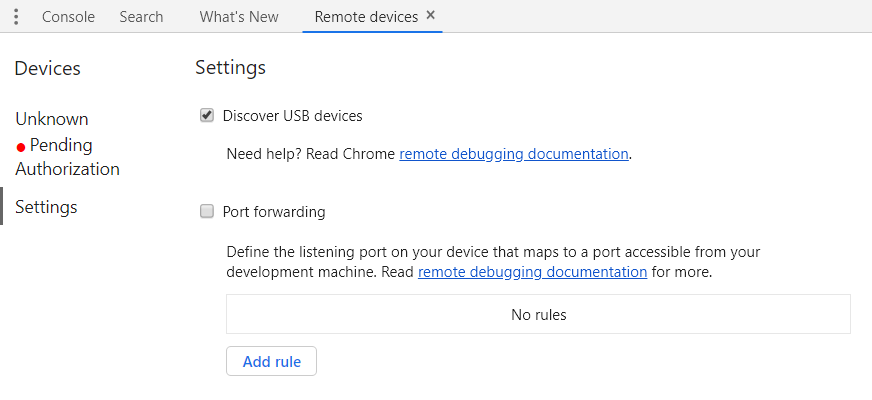
Step 3: A new window will open up. In that, enable Discover USB devices option.
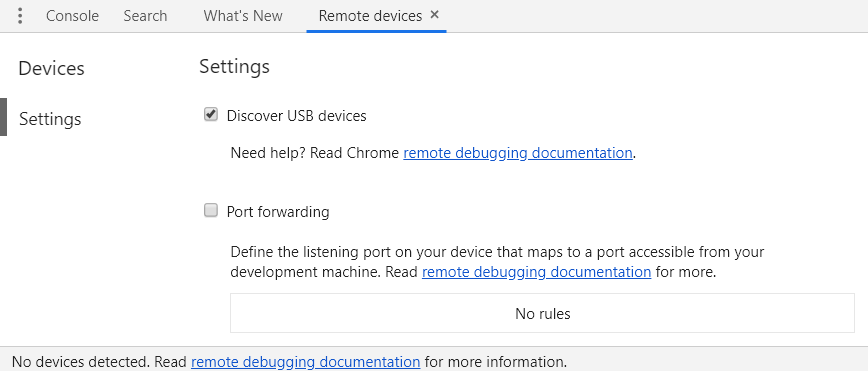
Enable Discover USB devices
Now you are all done with updating chrome settings.
Enable USB Debugging on Your Andriod Device
To debug from your Android device, it is mandatory to enable Developer Options. If you’re not already enabled the developer options. Let’s do it together now.
Step 1: Open Settings on your Andriod device. Go to About phone and then look for the Build number.
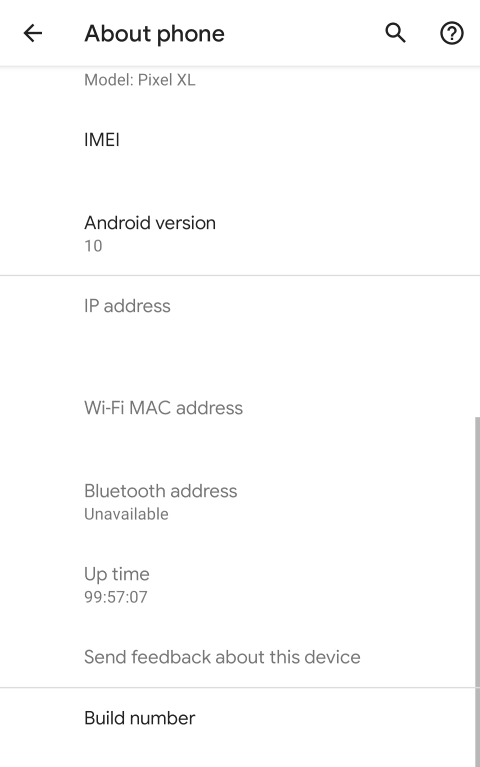
About Phone -> Build number
Step 2: Click 7 times on the build number, this will enable developer options in your Andriod device.
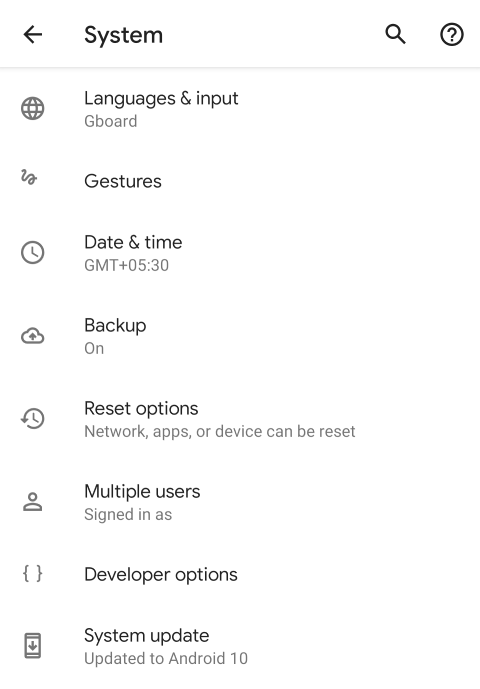
Developer options
Step 3: Go to developer options and enable USB debugging
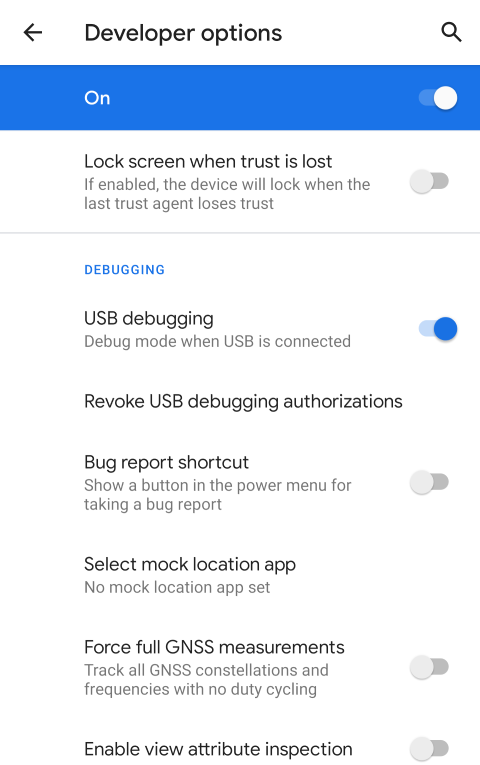
Enable USB debugging
Congrats! Now you are all done with the settings in your chrome browser and as well as your device.
Connect & Debug
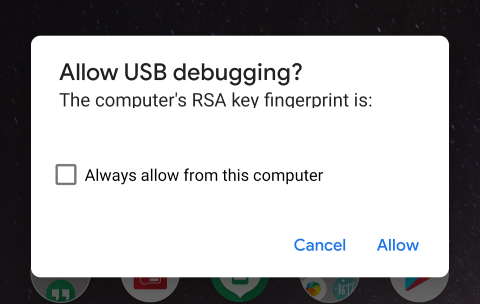
We are now ready to connect our device. Oh! we need a USB cable to do that. Once you connect, a pop will open up asking permission.
Step 1: Allow permissions for USB debugging
Allow USB debugging
You will not be able to access your mobile browser until you are authorized.
When Pending Authorization

After Authorization
Step 2: Click on the device name (BND-AL 10) to view all the opened tabs in your mobile browser
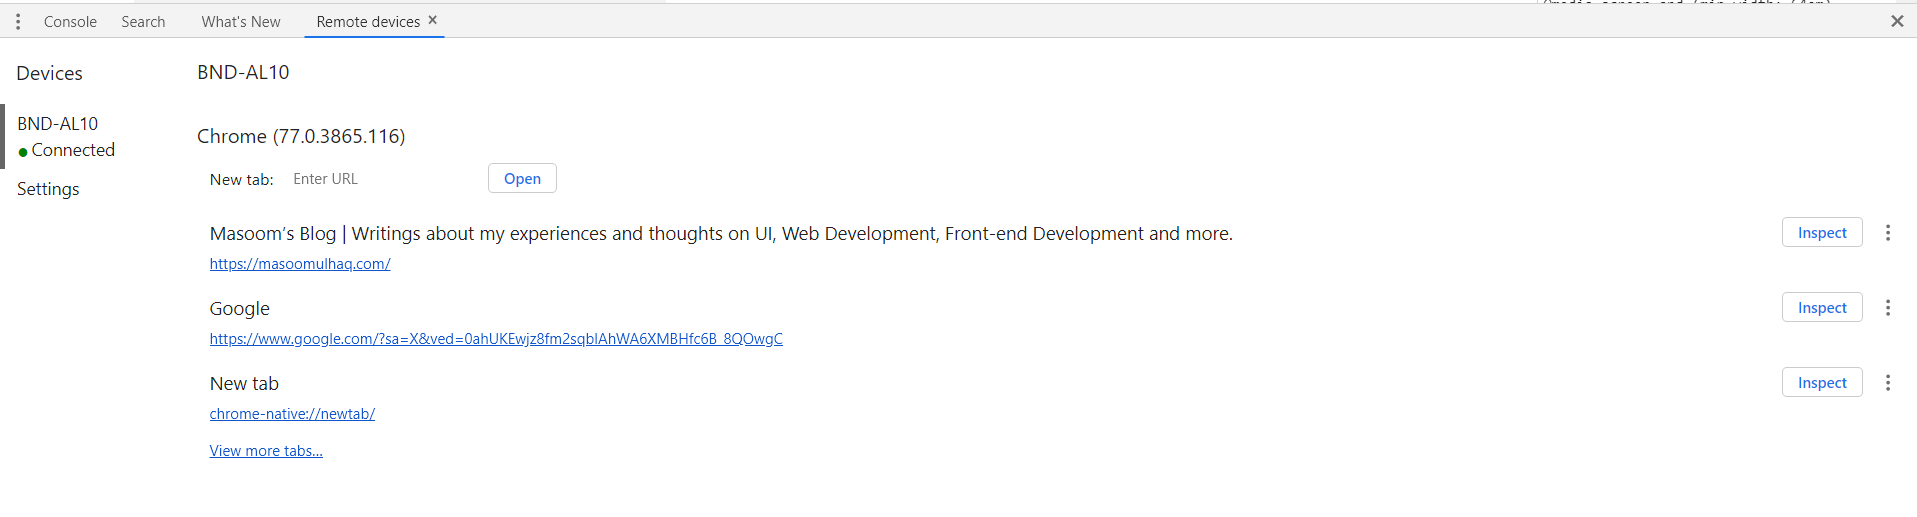
Click on device name -> View list of all the opened tabs
Step 3: Click on inspect button of any tab you want to debug, this will open emulator connected with the real device
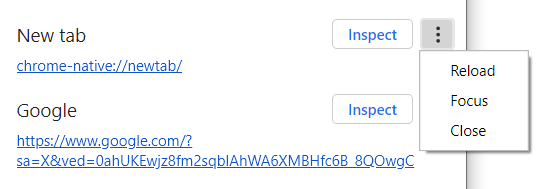
Tab options
Try yourself the options in the dropdown, they are self-explanatory though.
And that’s it from this article! Hope you like it. In case of any queries, comment below in the comment box.