Project Setup | Alarm Clock App with Angular - #1
Hi Folks, Welcome back!
Let’s start from where we left in the last tutorial.
In this tutorial, we will set up, customize and install the necessary dependencies into our angular project.
Create Project
| |
This command will start the process of creating project. The first thing CLI will ask you is whether to include routing or not. I would say, Yes!
| |
Next, it will ask you to choose for stylesheet format. For our tutorial, I will keep things simple, so I am choosing CSS from the list.
In case, you want to try any preprocessors, feel free to choose another option.
| |
That’s it! Now Angular CLI will create necessary files and install the dependencies. Your internet is slow? Go get a coffee till its done.
Installing few other Dependencies
Below is the list of dependencies:
I will be using Bootstrap to reduce my work on CSS and concentrate more on Angular. Navigate to the newly created directory ng-alarm-clock-tutorial and run below command.
Bootstrap is the world’s most popular and most used responsive CSS framework
| |
This command will install latest bootstrap(which is 4.3.1 when I wrote this article) into node_modules directory and now is the time to include it in our project.
Open angular.json file and updates styles section as shown below:
| |
You want to customize what components to include from Bootstrap? Well, here is the article for you.
Customizing package.json
Update start property under scripts will the example below:
| |
What does it do? Once you run your project, it will open the URL(ex: http://localhost:4200) in the browser automatically.
To know more about Angular CLI commands, visit here.
Test Run
Replace the code in app.component.html with the code below:
| |
and run the below command to serve our project.
| |
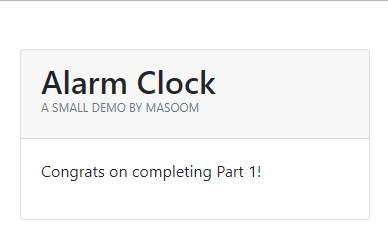
If you see this, Congrats on successfully completing Part 1!
Alarm Clock Part 1 Preview
Else let me know what went wrong in the comment box.
Useful Angular References
- Must know Angular CLI Commands - I have listed 7 most useful Angular CLI commands
- Customizing Bootstrap in Angular - This article tells all you need to about customizing bootstrap components in Angular Project
In the next article, let’s make the skeleton ready for our Alarm Clock.
Hope you like this tutorial. Any queries or concerns? Feel free to comment below in the comment box.